

| SEARCH |


How to Photograph Landscapes
Learn how I take reference photos for my paintings
Wednesday, May 1, 2024
I recently returned from a photo safari through southern Utah, where I got inspiration for my upcoming Western Landscapes exhibition in St. George, Utah. Since beginning my career as an artist, I have taken over 120,000 reference photos, and I was thinking about how much I’ve learned about creating a reference that actually captures the beauty I saw in nature and helps me create compositions when I paint.
I am sure you have experienced the phenomenon of taking a photo of a glorious landscape, only to look at it later and think how much better it looked in real life!
In this article, I will share my best tips for taking landscape photos.
How to Photograph Landscapes
Position your camera so you can see shadows. (Use side-lighting.)
While your eyes are great at distinguishing shapes and relative distances, a camera is not so skilled. You need to help your camera out by making sure you can see shadows in the landscape. As an artist, I paint shadows so that you can see the shape of the trees, rocks, and mountains. When taking photos, I always make sure there is side lighting so I can see the shape of objects in the photograph.
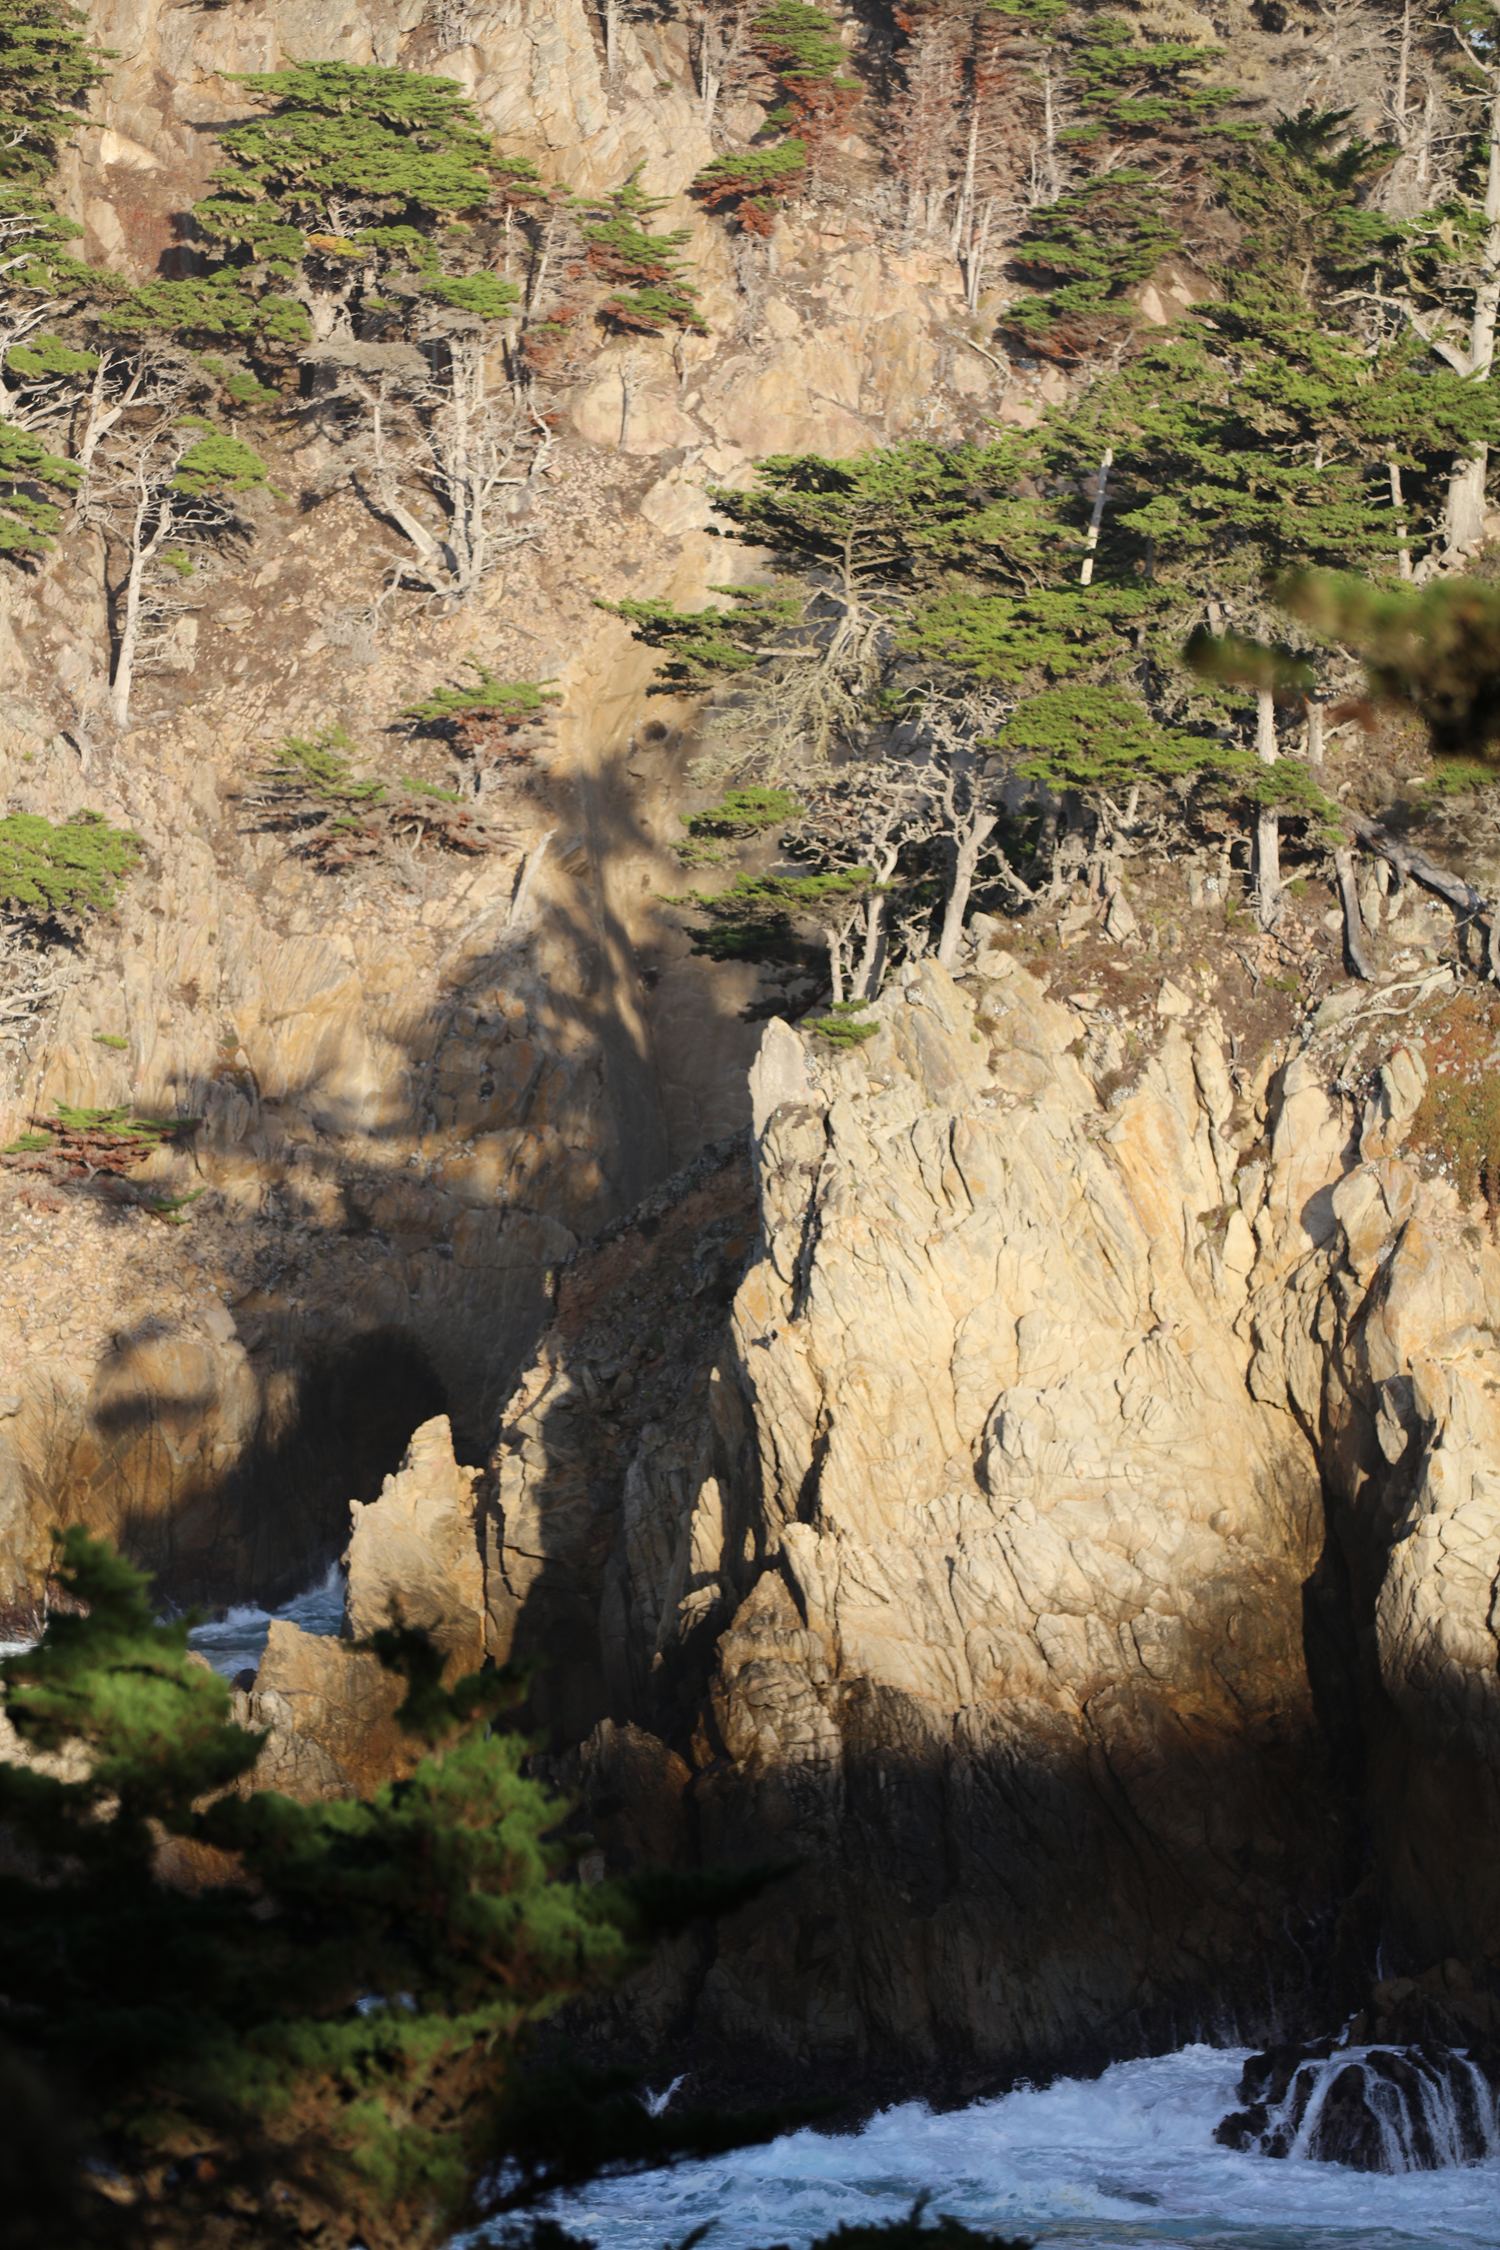
Example: In this photograph of Point Lobos, the rocky outcropping in the middle can barely be seen since there are no shadows.
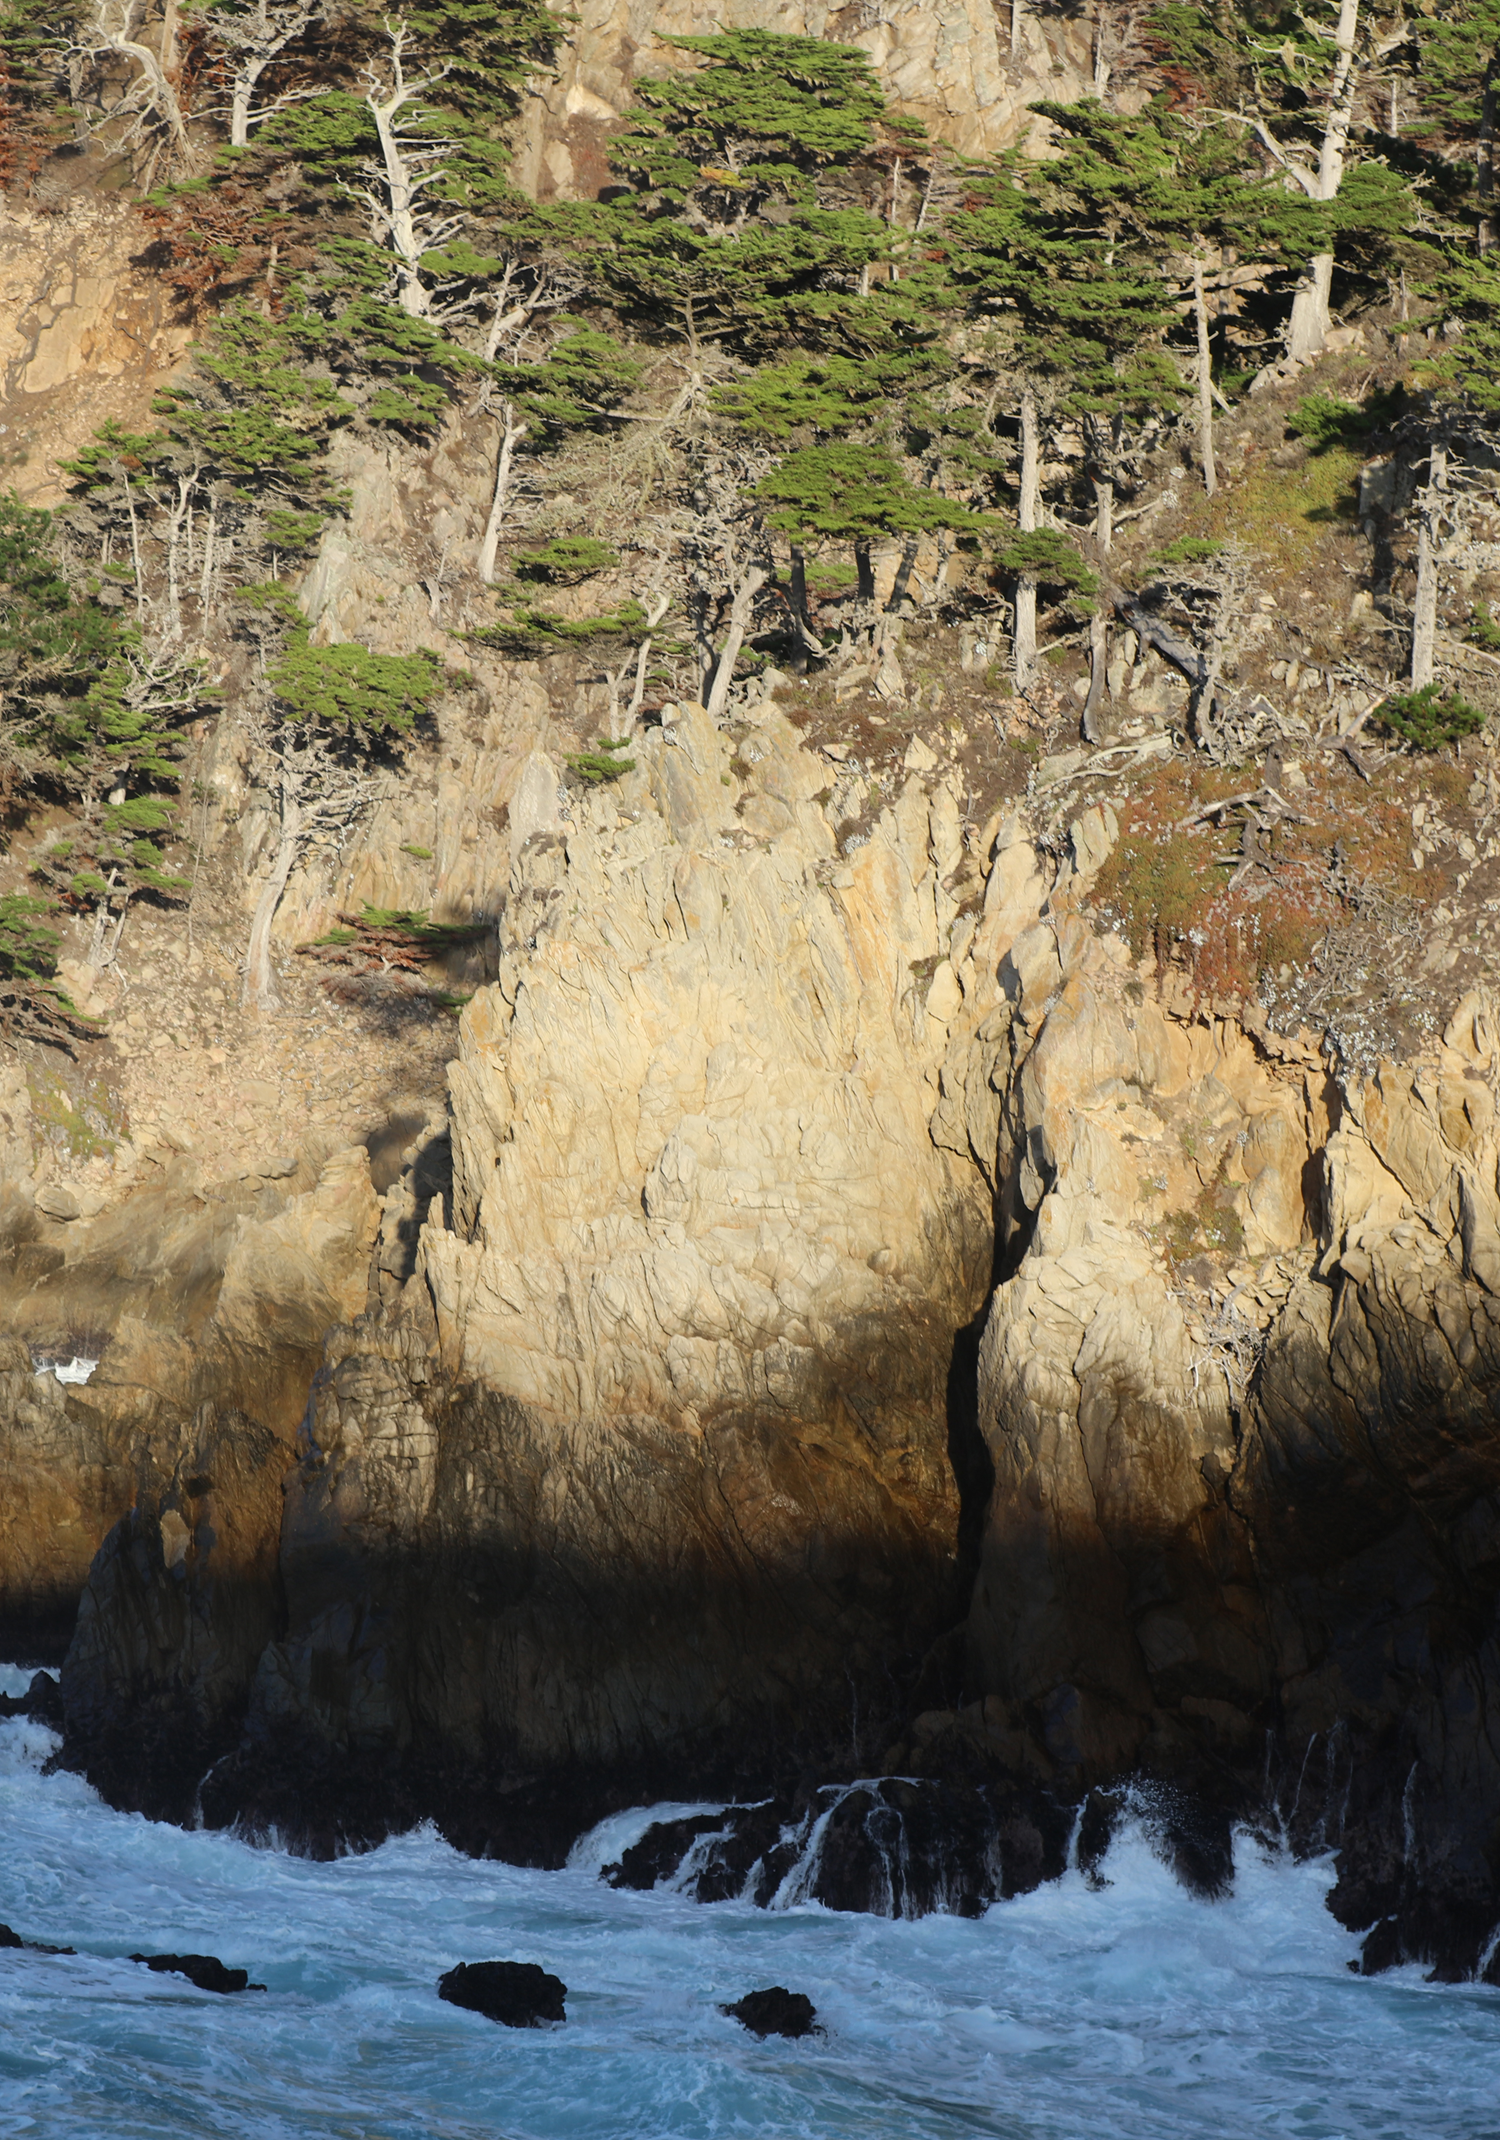
By walking thirty yards to the left, I was able to see shadows cast by the outcropping, and now I have an interesting photograph to paint!
Photograph during the Golden Hour.
Taking photos during the golden hour (the hour after dawn and before sunset), you naturally will see more shadows in the landscape, since the sun is low on the horizon. Put your camera away during mid-day, since sunlight coming from above casts shadows straight down, and your photos will never have enough dimension to use as a painting reference. The only exception here is if you are painting something that doesn’t require shadows to have shape, such as autumn leaves or cherry blossoms silhouetted against a blue sky. Use a circular polarizing filter. While phones generally take fantastic photos, there is one advantage of carrying a digital SLR camera with you: you can use a circular polarizing filter. This lens filter completely cuts out reflections on water (allowing me to photograph the true aqua colors of the ocean without the often-gray reflection on top), cuts out reflections on leaves (making them appear richer in color), and even cuts out reflections in the air (making the sky appear darker blue.)
You can rotate the lens around to control the amount of reflection you want, since sometimes reflections are good, like when the sun is setting over a still body of water. I hope these tips help you capture photos that look as good as the landscape looked in real life!
 ERIN HANSON has been painting in oils since she was 8 years old. As a young artist, she worked at a mural studio creating 40-foot-tall paintings on canvas, while selling art commissions on the side. After getting a degree in Bioengineering from UC Berkeley, Erin became a rock climber at Red Rock Canyon, Nevada. Inspired by the colorful scenery she was climbing, she decided to paint one painting every week for the rest of her life. She has stuck to that decision ever since, becoming one of the most prolific artists in history. Erin Hanson's style is known as "Open Impressionism" and is now taught in art schools worldwide. With thousands of collectors eagerly anticipating her work and millions of followers online, Hanson has become an iconic, driving force in the rebirth of contemporary impressionism.